| Home | Newsletter | Locations | Diary |
|
Indexes |
|
|
|
Article Printer ProfilingTo get accurate colours to print out, your printer needs to be profiled. Printer profiles, sometimes referred to as ICC Profiles, are needed for every combination of printer, paper and ink that you use. As most people will only use one printer and the same ink, this means you need a profile for each type of paper that you use. Paper Type is different for each combination of manufacturer, surface, weight, and other characteristics, but you don’t normally need a separate profile for different sized papers within the same paper type. To do this you need to print out a file called a test chart onto the media (paper or canvas) you want profiled on your printer in a specific way and then either by using a piece of dedicated hardware or using a remote profiling service, a printer profile is produced and installed on your computer. This is then put in the various editing software applications that you will want to use it with. You will come across standard downloadable profiles that claim to be for a set combination of printer model, media and ink. Our tests with these show that the results are considerably inferior to the results you can obtain with a properly profiled system. Hardware Vs Profiling Service There is equipment in the marketplace that allows you carry out printer profiling, and if you are someone who is going to be using a number of different papers, or even have more than one printer this may be an option. Typically the printer profiling hardware is sold in combination with screen profilers and can cost anything from £350 to several thousands, I have not come across a dedicated printer profiler only. The other alternative is to use a remote profiling service, where you print out a test chart and they produce the profile. Typically with this method you pay between £25-£40 per profile, some services are more. There are paper providers who will provide free profiles for you if you are buying the paper from them, this is totally different from standard downloadable profiles which are in no way as good. Using a remote profiling service involves them in sending you, either via email or on CD a test chart, usually a TIFF file, which you then print out on your printer/paper combination you want profiled, with your printer set up in a specific way. You then send this printout to them and they scan this chart into their profiling software, using a spectrophotometer, and produce a profile file (sometimes referred to as an ICC profile), which is then sent back to you and you install this file onto your computer. This file is then accessed via your editing/photo software and used when you want to print out your photos. The process in more detail The 1st stage is to print out the test chart. When printing out the Test Chart you need to make sure that the colour management settings are turned off within the software and in the printers properties.
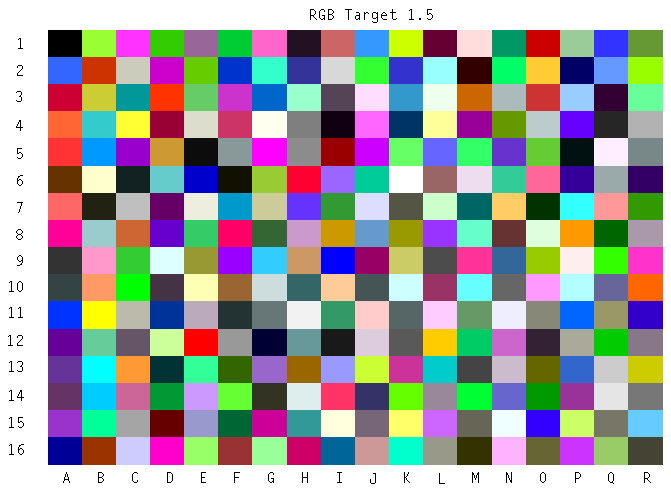
This image is the sort of image that should have printed out. A picture of colour squares, which the spectrophotometer will read in order to create the profile. The actual layout and number of colours will vary from one system to another.
The 2nd stage is to produce the Profile. If you have your own spectrophotometer, then the software that comes with it will guide you through this process. If you are using a Remote Profiling Service, then you need to wait 30 minutes for the printout to dry and then pack it up in an envelope (without folding it) and post it to the profiler. The 3rd stage is to put the profile on your computer. When you have your profile it will be in a file with either with a .ICC or .ICM extension. This file needs to be installed on your computer in a specific directory/folder. For this you will need to find the correct directory/folder which are as follows:- PC Users Win XP: C:Windows/System32/Spool/Drivers/Color Win 2000: C:WinNT/System32/Spool/Drivers/Color
MAC Users Mac OS X: /Library/Colorsync/Profiles Mac OS 9: systemfolder/colorsync profiles Make a note of the filename as you will need it for the next stage. The 4th Stage is to set up your profile within your editing software Printer Profiles are set up for each paper/ink combination that is used on the printer and have to be set in each software package that is going to be used for printing pictures, across all USERS on a windows based computer system. Within the software that you are using to print out your photos, you need to find the Colour Management settings, which can be off 'Preferences' in some packages, like Capture NX2 or off the Print menu in others, such as Photoshop, and under the Printer Profile options, you need to select the profile name you just installed. To be able to do this part of the task you may need to have a picture loaded to access the print settings. Because the printer profiles are set up within the software, when it comes to the printers own settings, off the Properties button, you should make sure that the No Color Management setting is checked. When setting up the printer to produce the test chart printout you may have saved the printer settings as a file (custom setting), and this is where it is used. Doing it this way will mean all the printouts will come out as seen on the screen as per the printer profile set within the software packages. The 5th Stage is to use the Printer Profile Now you have your system set up to use your new printer profile, you are now able to accurately printout your photos on your printer. With your edited picture loaded and ready to print. Select File > Print On the Colour Management Tab ‘Use Color Management’ should be ticked. This will initially have the Printer Profile as the default you set up, but using the drop down option allows you to change it to the profile you require for that particular image/media type you are going to use. Print – takes you to the Printers settings, make sure these are set to your saved custom setting, or if you don't have one make sure its set to ‘No Color Management’. More than one Printer or Media/Paper TypeIf you have more than one paper type in use or more than one printer you want to print photos on, and therefore more than one printer profile, then the ‘printer profile’ option will need to be changed to correspond with the type of media/paper or printer you are going to be printing on, and therefore the correct profile. So remember when using the software to manage the colours when printing, when you come to the Printer’s own dialogue box in the printing process stage you will need to make sure it is set to ‘No Color Management’, otherwise the colours will not be correct. See Also:
Taking a Look at Printers for the Photographer
Print On Demand Desktop Printers
|
||||||
|
||||||
.
|
||||||
|
|