| Home | Newsletter | Locations | Diary |
|
Indexes |
|
|
|
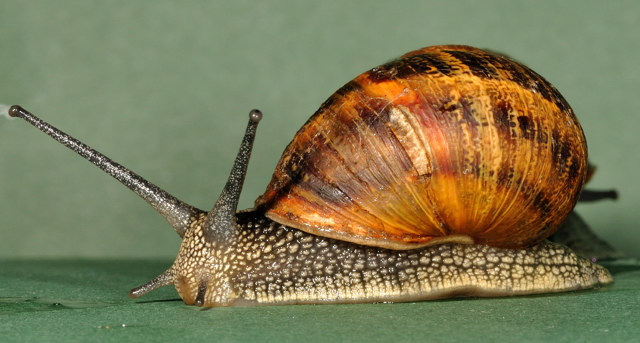
Article Photographing Snails (Project)Every year photographers go all over the world to find different exotic animals and insects to photograph which because of TV, magazines and the media in general gets all the publicity. Going on expensive trips to get a shot of a polar bear or penguin in their natural habitat, or on safari for the Lion, Elephant or Cheetah, but there is just as much interesting wildlife in the UK and particularly in your own back garden, if you look - from mammals such as field mice, to visiting birds, bees on the flowers and of course the target for our project - the garden snail. Take a look in any garden, but particularly
your own and you will come across a snail. They are very common in UK gardens
and can be found usually around garden plants, plant pots, border beds and
anywhere they might find a food source. I have put together a fact sheet on the
Garden Snail
Of course you could photograph the snails in their natural environment in the garden, as they aren't fast movers you should be able to get some decent shots. The other way of course is to collect 2 or 3 from the garden and take them into a controlled environment indoors. Snails are only small so you don't need a vast amount of work area and with the Nikon creative lighting system the amount of kit you need is small. For this project I used:
I set up my work area on the dining table. Using two pieces of green mountboard card I could set up the space I wanted available for the snails to use. One piece was placed flat on the table, the other was propped up behind it to create a background. Then I set up the tripod to be level with the baseboard on the table so that when taking the pictures I was looking straight at them, not at an angle or from above. This way you get good portraits of them as well as seeing the detail on their shells. The 190PROB and head have spirit levels on them, so I used these to make sure the tripod was level.
Now How to Light the subject There are various ways to do
this and I considered the options that this could be done before settling on
using the macro flash kit. I could have used a
full studio system
Next I turned my attention to setting up the camera. I decided to use the 105VR macro lens, that way I wouldn't have to be so close, and I would get up to 1:1 actual size snails. Also of the two macro lenses I have this is the only one sturdy enough to hold the weight of the Macro flash kit. I mounted the ring on front of the lens and attached 2 of the SB-200 flashes. I used the pop up flash on the top of the D300 as the commander and put a infra-red shield in front of it so that it's signal flash didn't affect my shots.
Setting the SB-200's Made sure both were set to channel 1 to line up with camera settings. The flash on my left was then set to Group A, and the one on the right to Group B, this with the difference in power above meant the main light was the left one and the right one in-filled all the shadows rather than having a completely flat picture. Took a couple of shots using a model of similar size to get the right angles of the flash heads. The camera is now ready to mount on the tripod and you are nearly ready to start. There are two further functions to perform:- Set the
White
Balance
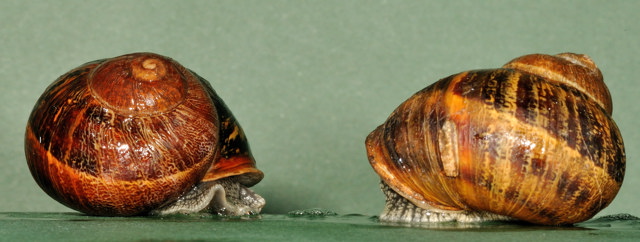
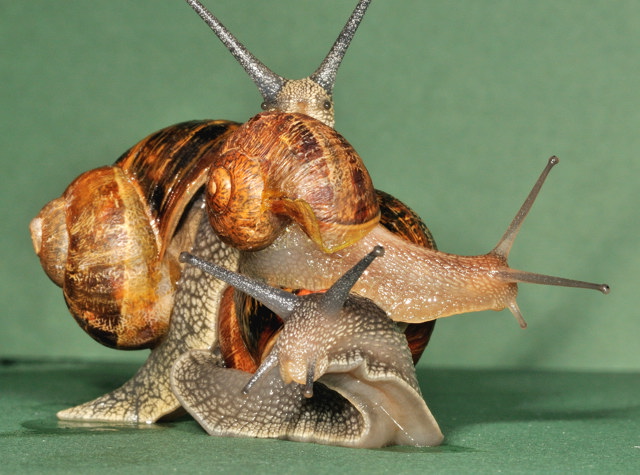
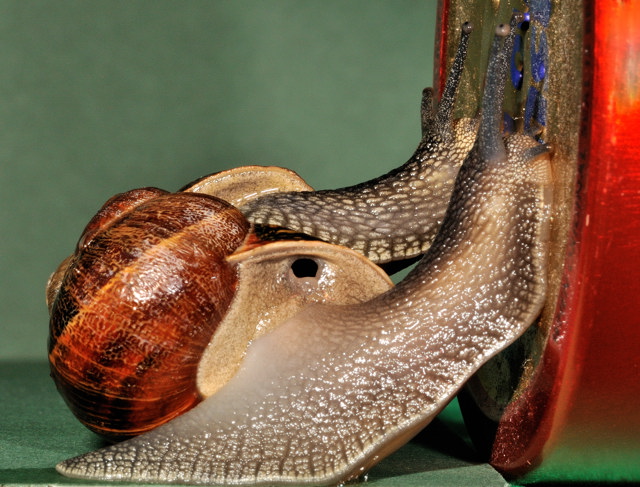
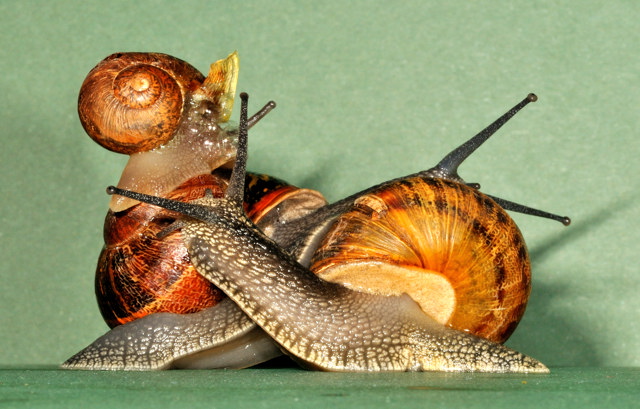
Collect your subjects - the SNAILS. Remove your subject from the collection container and place on the green card in position and shoot. Snails love damp places and damp weather, so running a tap over them has the effect of cleaning off their shells, making the colour in their shells show up, just like with pebbles, and wakes them up encouraging them to become active. I wanted a sheen on the shells, had I not wanted this I could have dried them off with a paper towel before they came out.
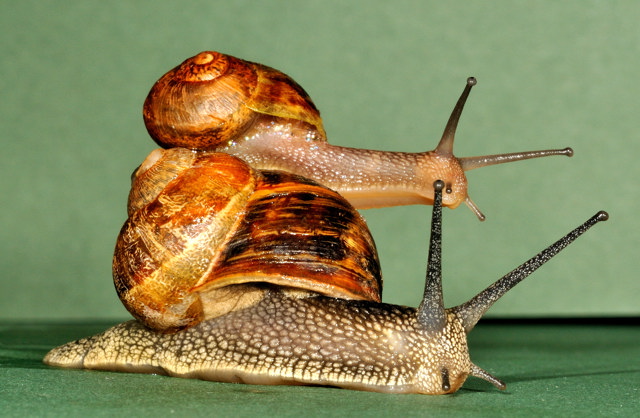
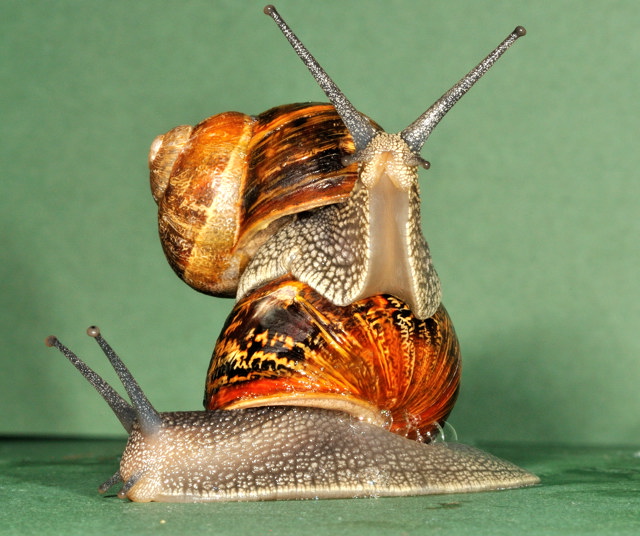
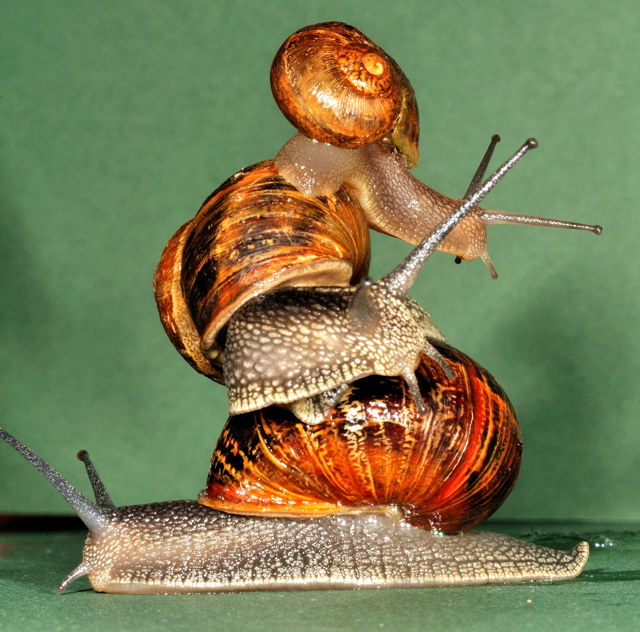
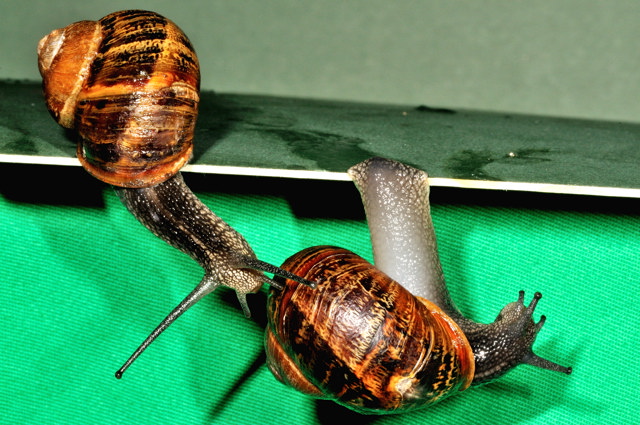
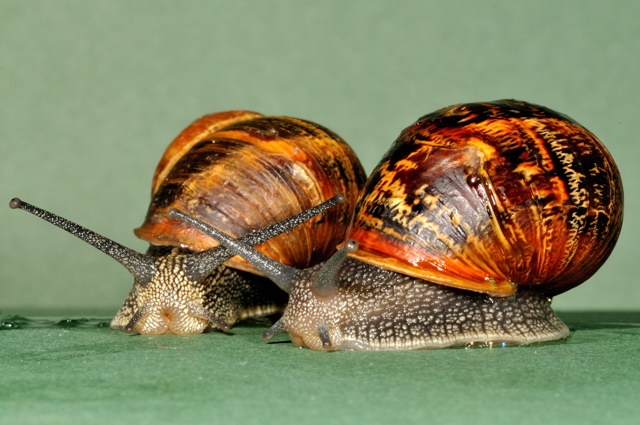
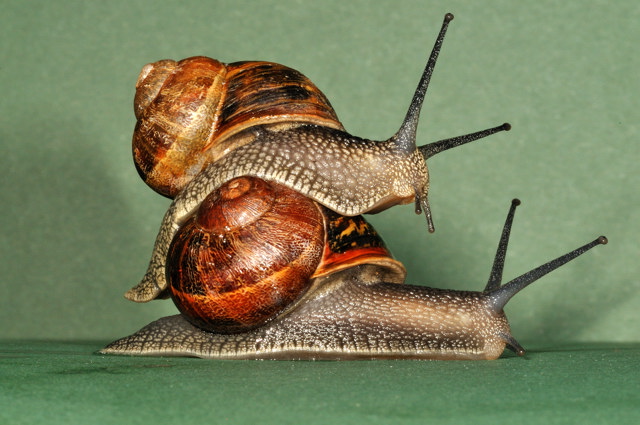
Tips: Their shell when wet gives off a sheen and in some cases with the lighter shells they can appear translucent. You could get some vegetation in from the garden and place them on it to get a more environmental outcome. This may also keep them in one spot for longer if they are feeding on it. Snails naturally will take the lazy course and ride on the back of another snail on the move, they therefore quite naturally climb on top of each other. In some cases you find two each trying to climb on the other, and a number of other arrangements. Usually while one is moving and one riding they will be both looking in the same direction. They will also after a while get used to you and happily climb on your hands and not constantly go back into their shells. Of course if you can't find live snails you could always collect snail shells - you'll be surprised at the different shapes, sizes and shell patterns you can get. Try and do something different - something others wouldn't expect. It may only be a garden snail, but it can make a good and interesting photo subject. To watch out for: My photographic session was for a couple of
hours, in doors in the afternoon and I took around 350 pictures. Towards the
end of the session I did have a problem with autofocus, it wasn't the
position of the snails or even the lens malfunctioning it was merely that
the surrounding light level was reduced enough that the lens was struggling
to find the subject to focus on. So turning on the room lights got over this
problem - although you may want to re-do the
White Balance
When I came to dismantle and put away the kit, I found the two SB-200's, which had been switched on for all the time, had got quite warm. Not dangerous and not a problem, but just not expected when I put my hand on them to take them off the camera. And finally Remember to put the snails back out in the garden when you finish...... Below is a further selection of the shots I managed to get. Now it's your turn. This may seem a very simple project, but it's worth doing and will give you both some additional experience and some different photos.
|
||||||||||||
|
||||||||||||
.
|
||||||||||||
|
|